From MRI to Brain Lamp
December 21, 2023
Turned an MRI of my brain into a 3D printable object, and then into a hollow smart lamp
Inspiration
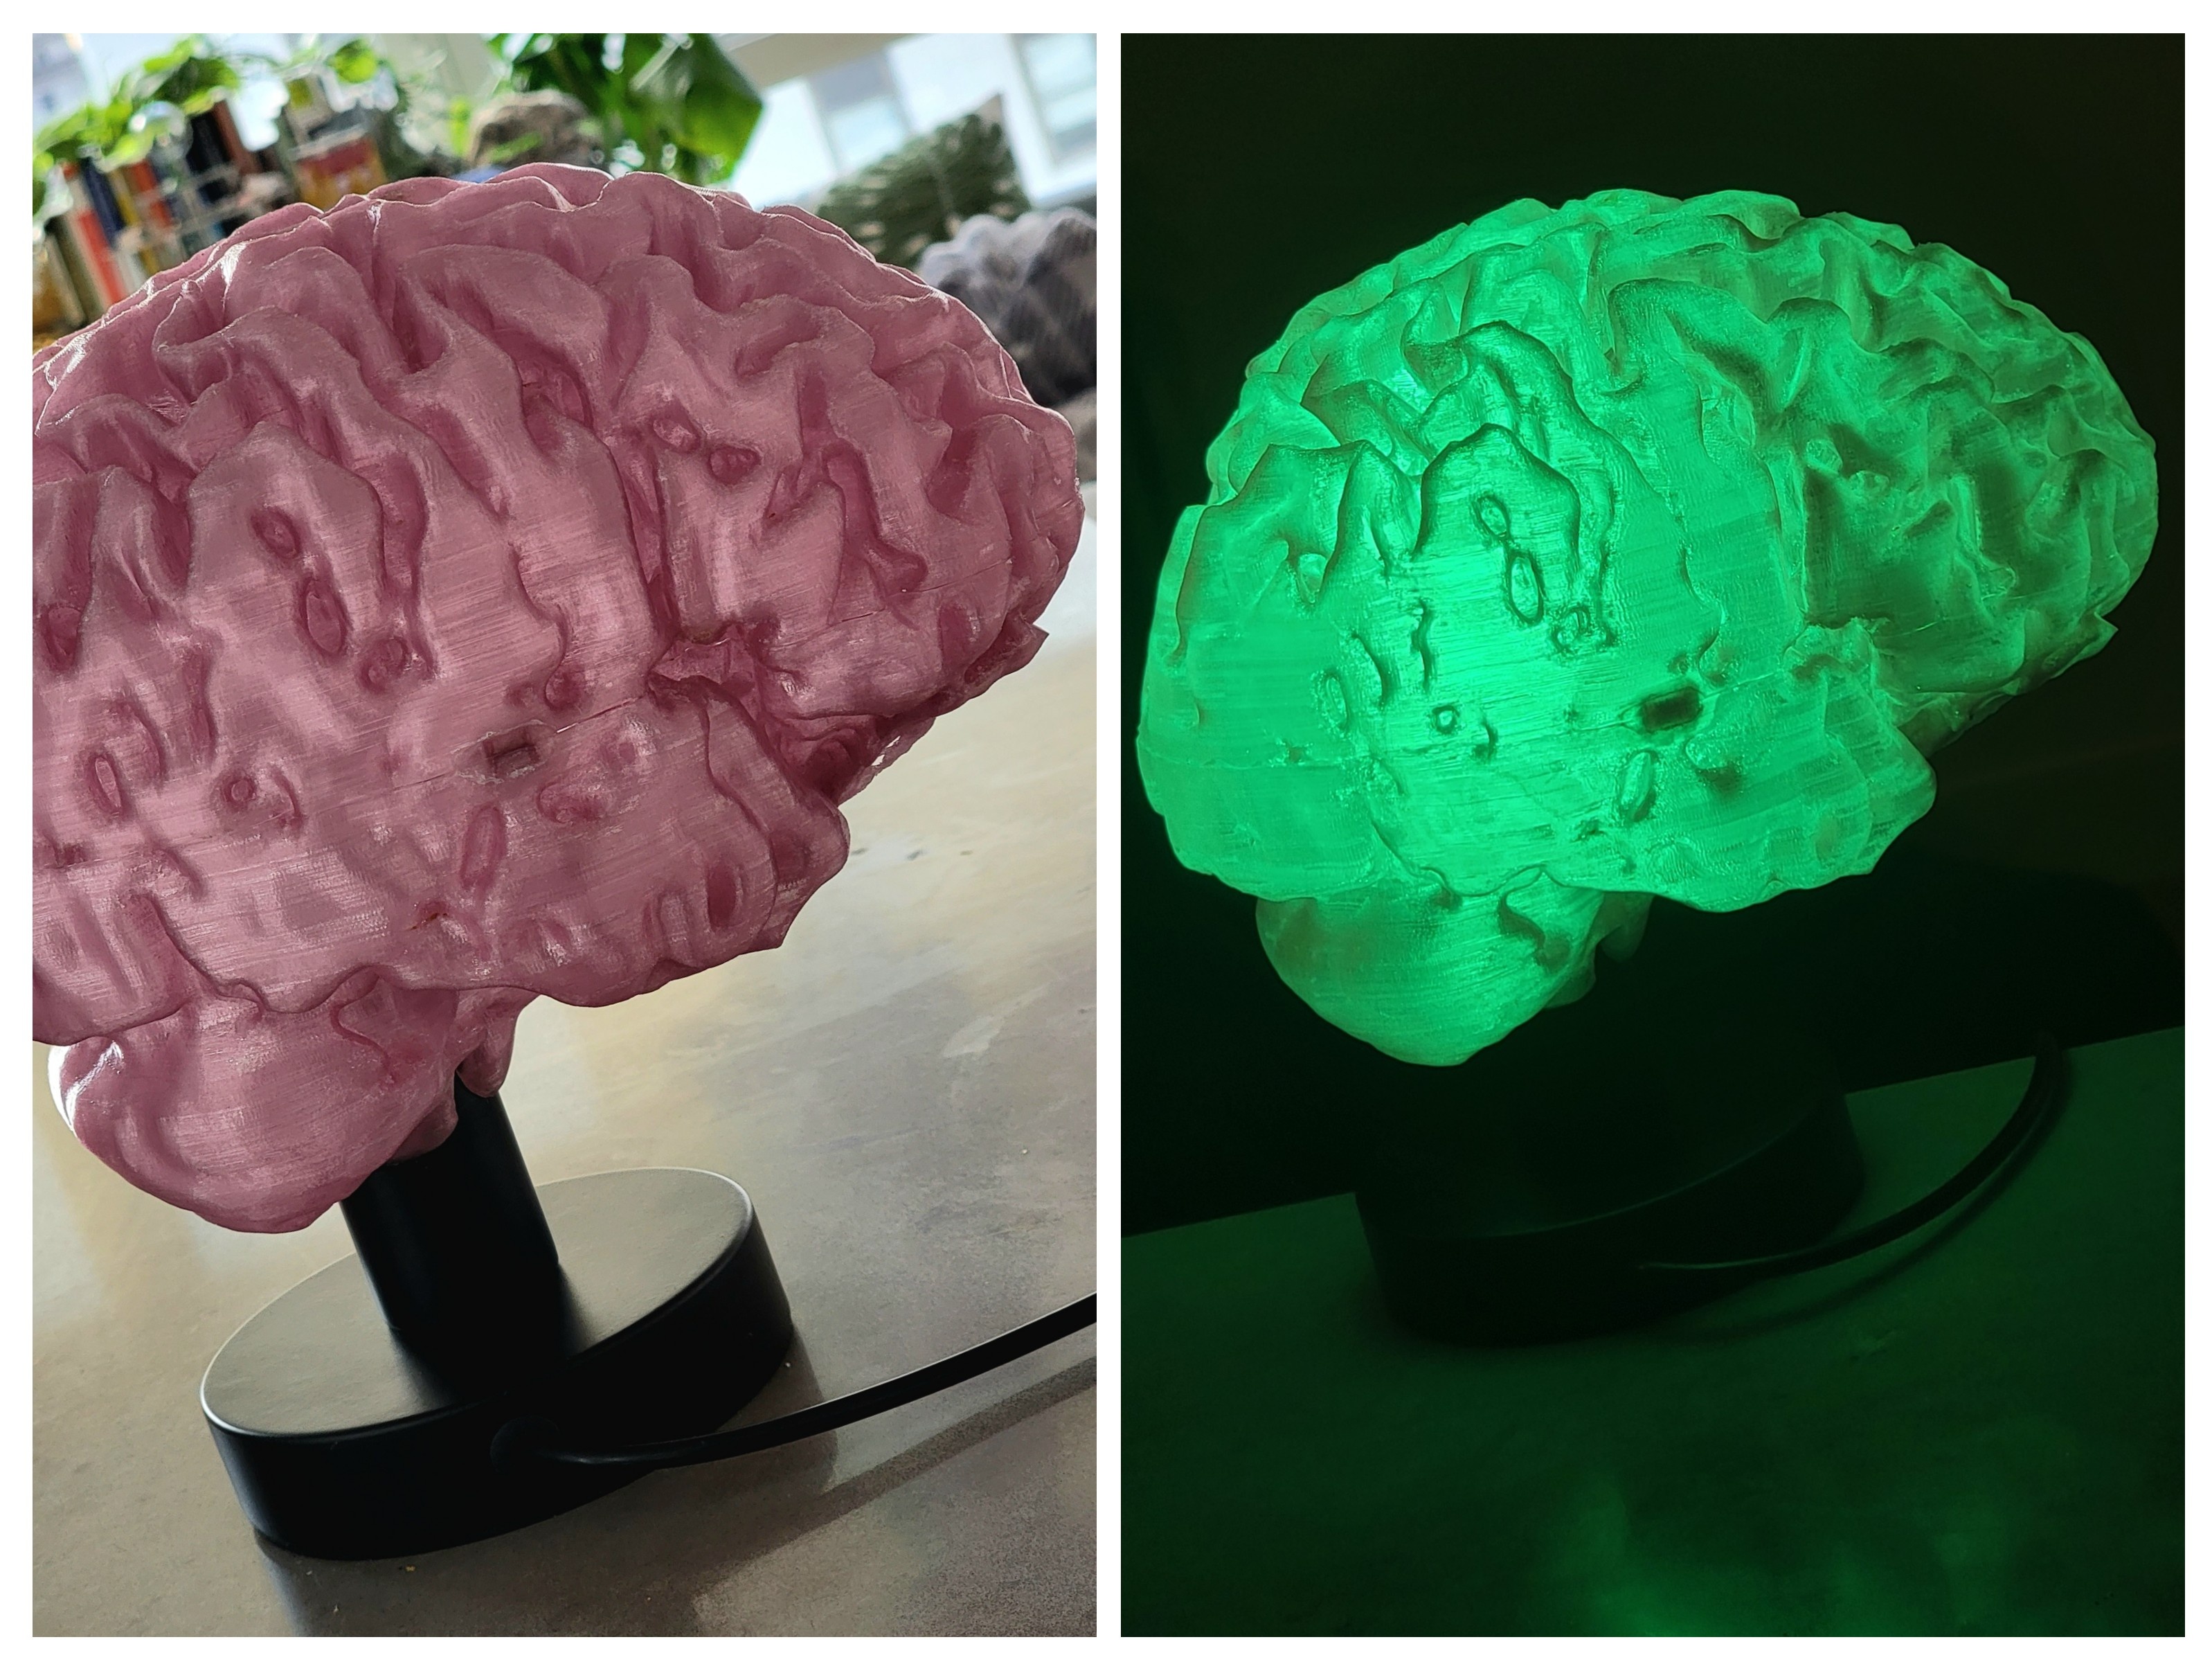
Ever since I went to the hospital and, on a whim, requested my own MRI files from the brain scan, I wondered: since I have a 3D printer, could I 3D print my brain? Well it turns out -- lots have had this shower thought and there are plenty tutorials online for that. Now, making mini prints of your brain to use as paperweights or whatever is cool and all, but what if we went further and literally lit your brain up with inspiration?!
Thus was incepted the brain lamp; a smart-led color changing lamp that illuminates your 3D-printed brain from the inside. I worked extensively on this project and am happy to share how I got to the beautiful finished product, so that anyone with MRIs of their brain and access to a 3D printer can have their actual brain as a desk lamp.
If you'd like to follow along this story with the actual 3D printable files (So that you can make your own version of my brain file!) please check out the Instructables page below, which is this page but with links for files and such.
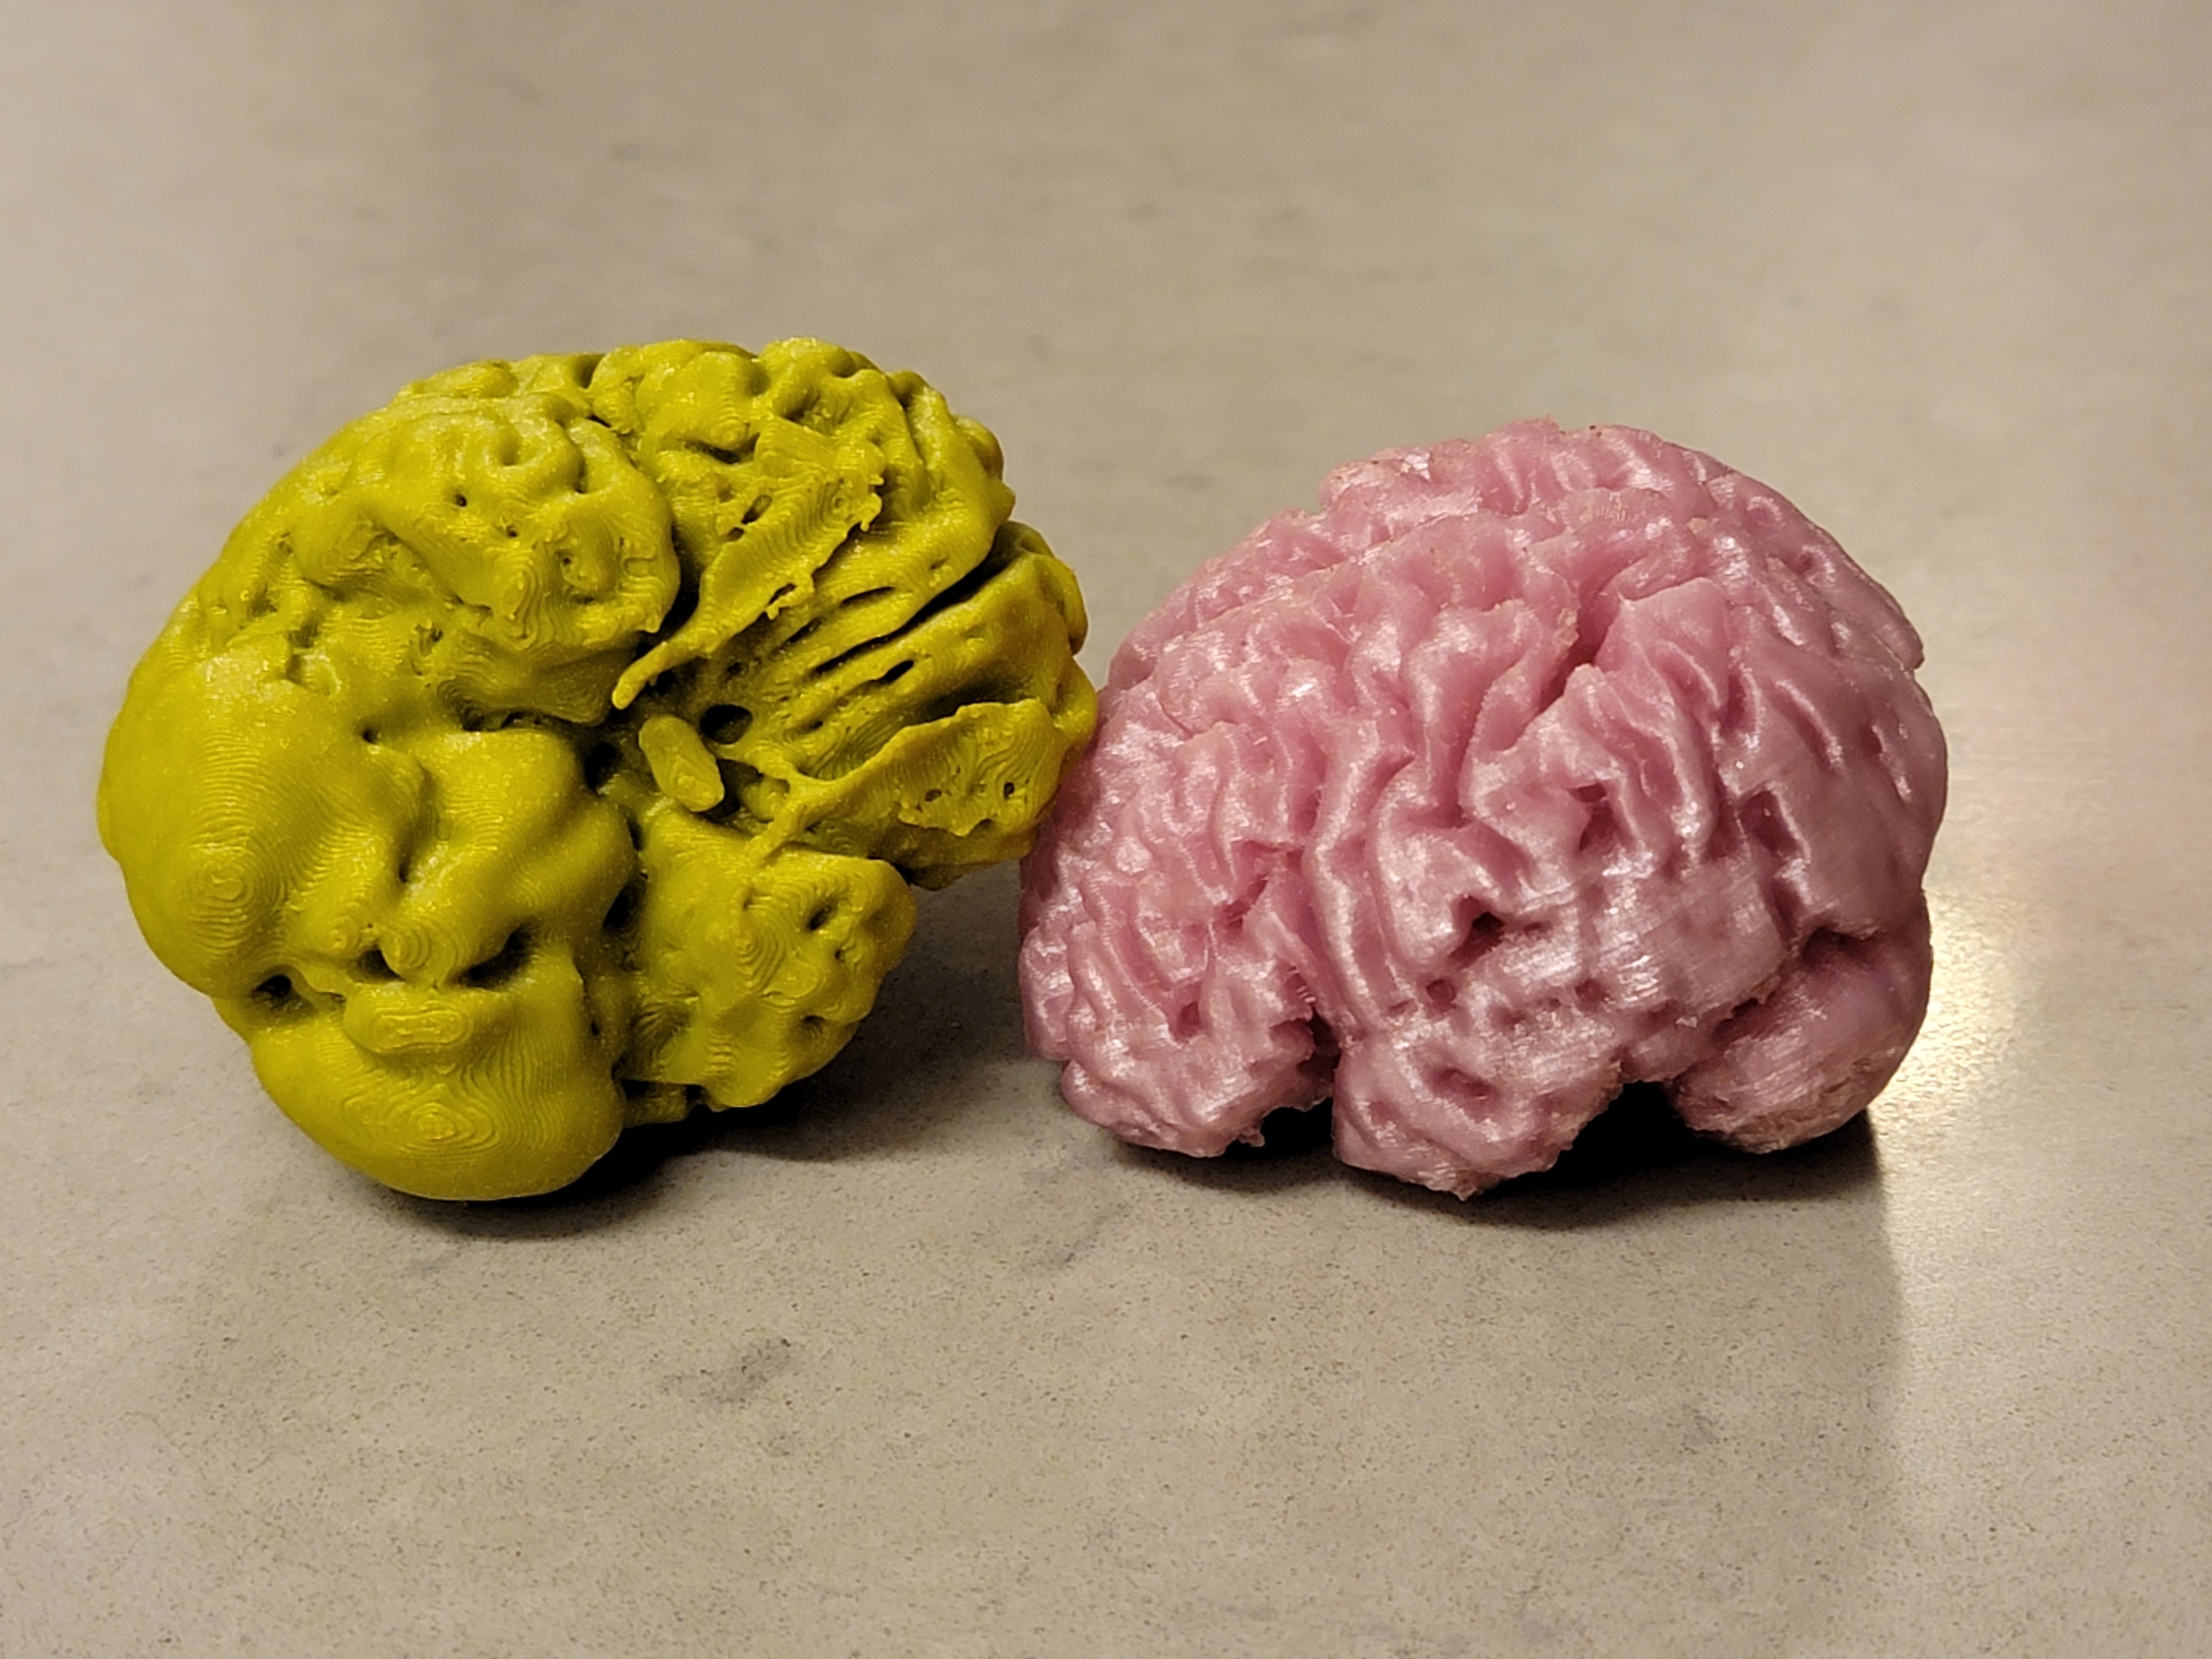
MRI to Printable Object
Now, there are many tutorials online for converting an MRI scan to a printable STL, like this one or this one; however, I found that they either didn't have good instructions on how to use the software, or they used software that doesn't work anymore (Freesurfer). But eventually I found a working tutorial ! It uses the software Slicer, and its instructions are pretty much still relevant. I still had to make some modifications to get it to work like using a different Slicer plugin and some adjustments in the settings (which got updated since the tutorial was posted) but I was eventually able to get the STL file from my MRI scans.

Cleaning the Object
Turning Into a Lamp
There are several steps before we can print, but they are relatively straightforward.
- Enlarge the model: Enlarging is easy; you just need to make sure that you have a 1 inch min clearance around the lamp bulb (so it doesn't overheat and melt). Estimate the lamp base and bulb as cylinders in your favorite modeling software; I use Blender (because it's free and I've already invested way too much time into learning it), but also it turns out that Prusa Slicer is an amazing modeling and post-processing software that can do a lot!
- Hollow the model: Hollowing the model is tricky to nigh-impossible in Blender due to all the curves inside the brain, but it is pretty easy to do in Meshmixer. Also, you can do it in Prusa Slicer! Just put into SLA mode and you can set the desired thickness, even smoothing on the inside curves. I recommend a shell thickness of 2mm to allow light through, but also ensuring structural integrity.
- Make the lamp hole: This will be specific to whatever lamp base + light bub you bought. Using the lamp base model from enlarging the model, cut that shape out from the brain, giving about 0.3mm clearance (you could give more, but it's always better to do less, since you can just file/sand off the fit).
- Cut in half: Once again I like Prusa Slicer for this; you just have to use the tool that cuts objects in half. It would be much more complicated in Blender, where you have to fill the hole cuts manually.
- Add magnet holders: This part is tricky; make little cylinders that have a 10.5mm hole, and attach them to 4 corners of the brain lamp, on each brain half, making sure that they line up between the two halves. We will glue the magnets in them after to serve as the way to open and close the lamp (to get at the bulb).
I've attached files that will work with the specific lamp base I bought, which was pretty cheap.
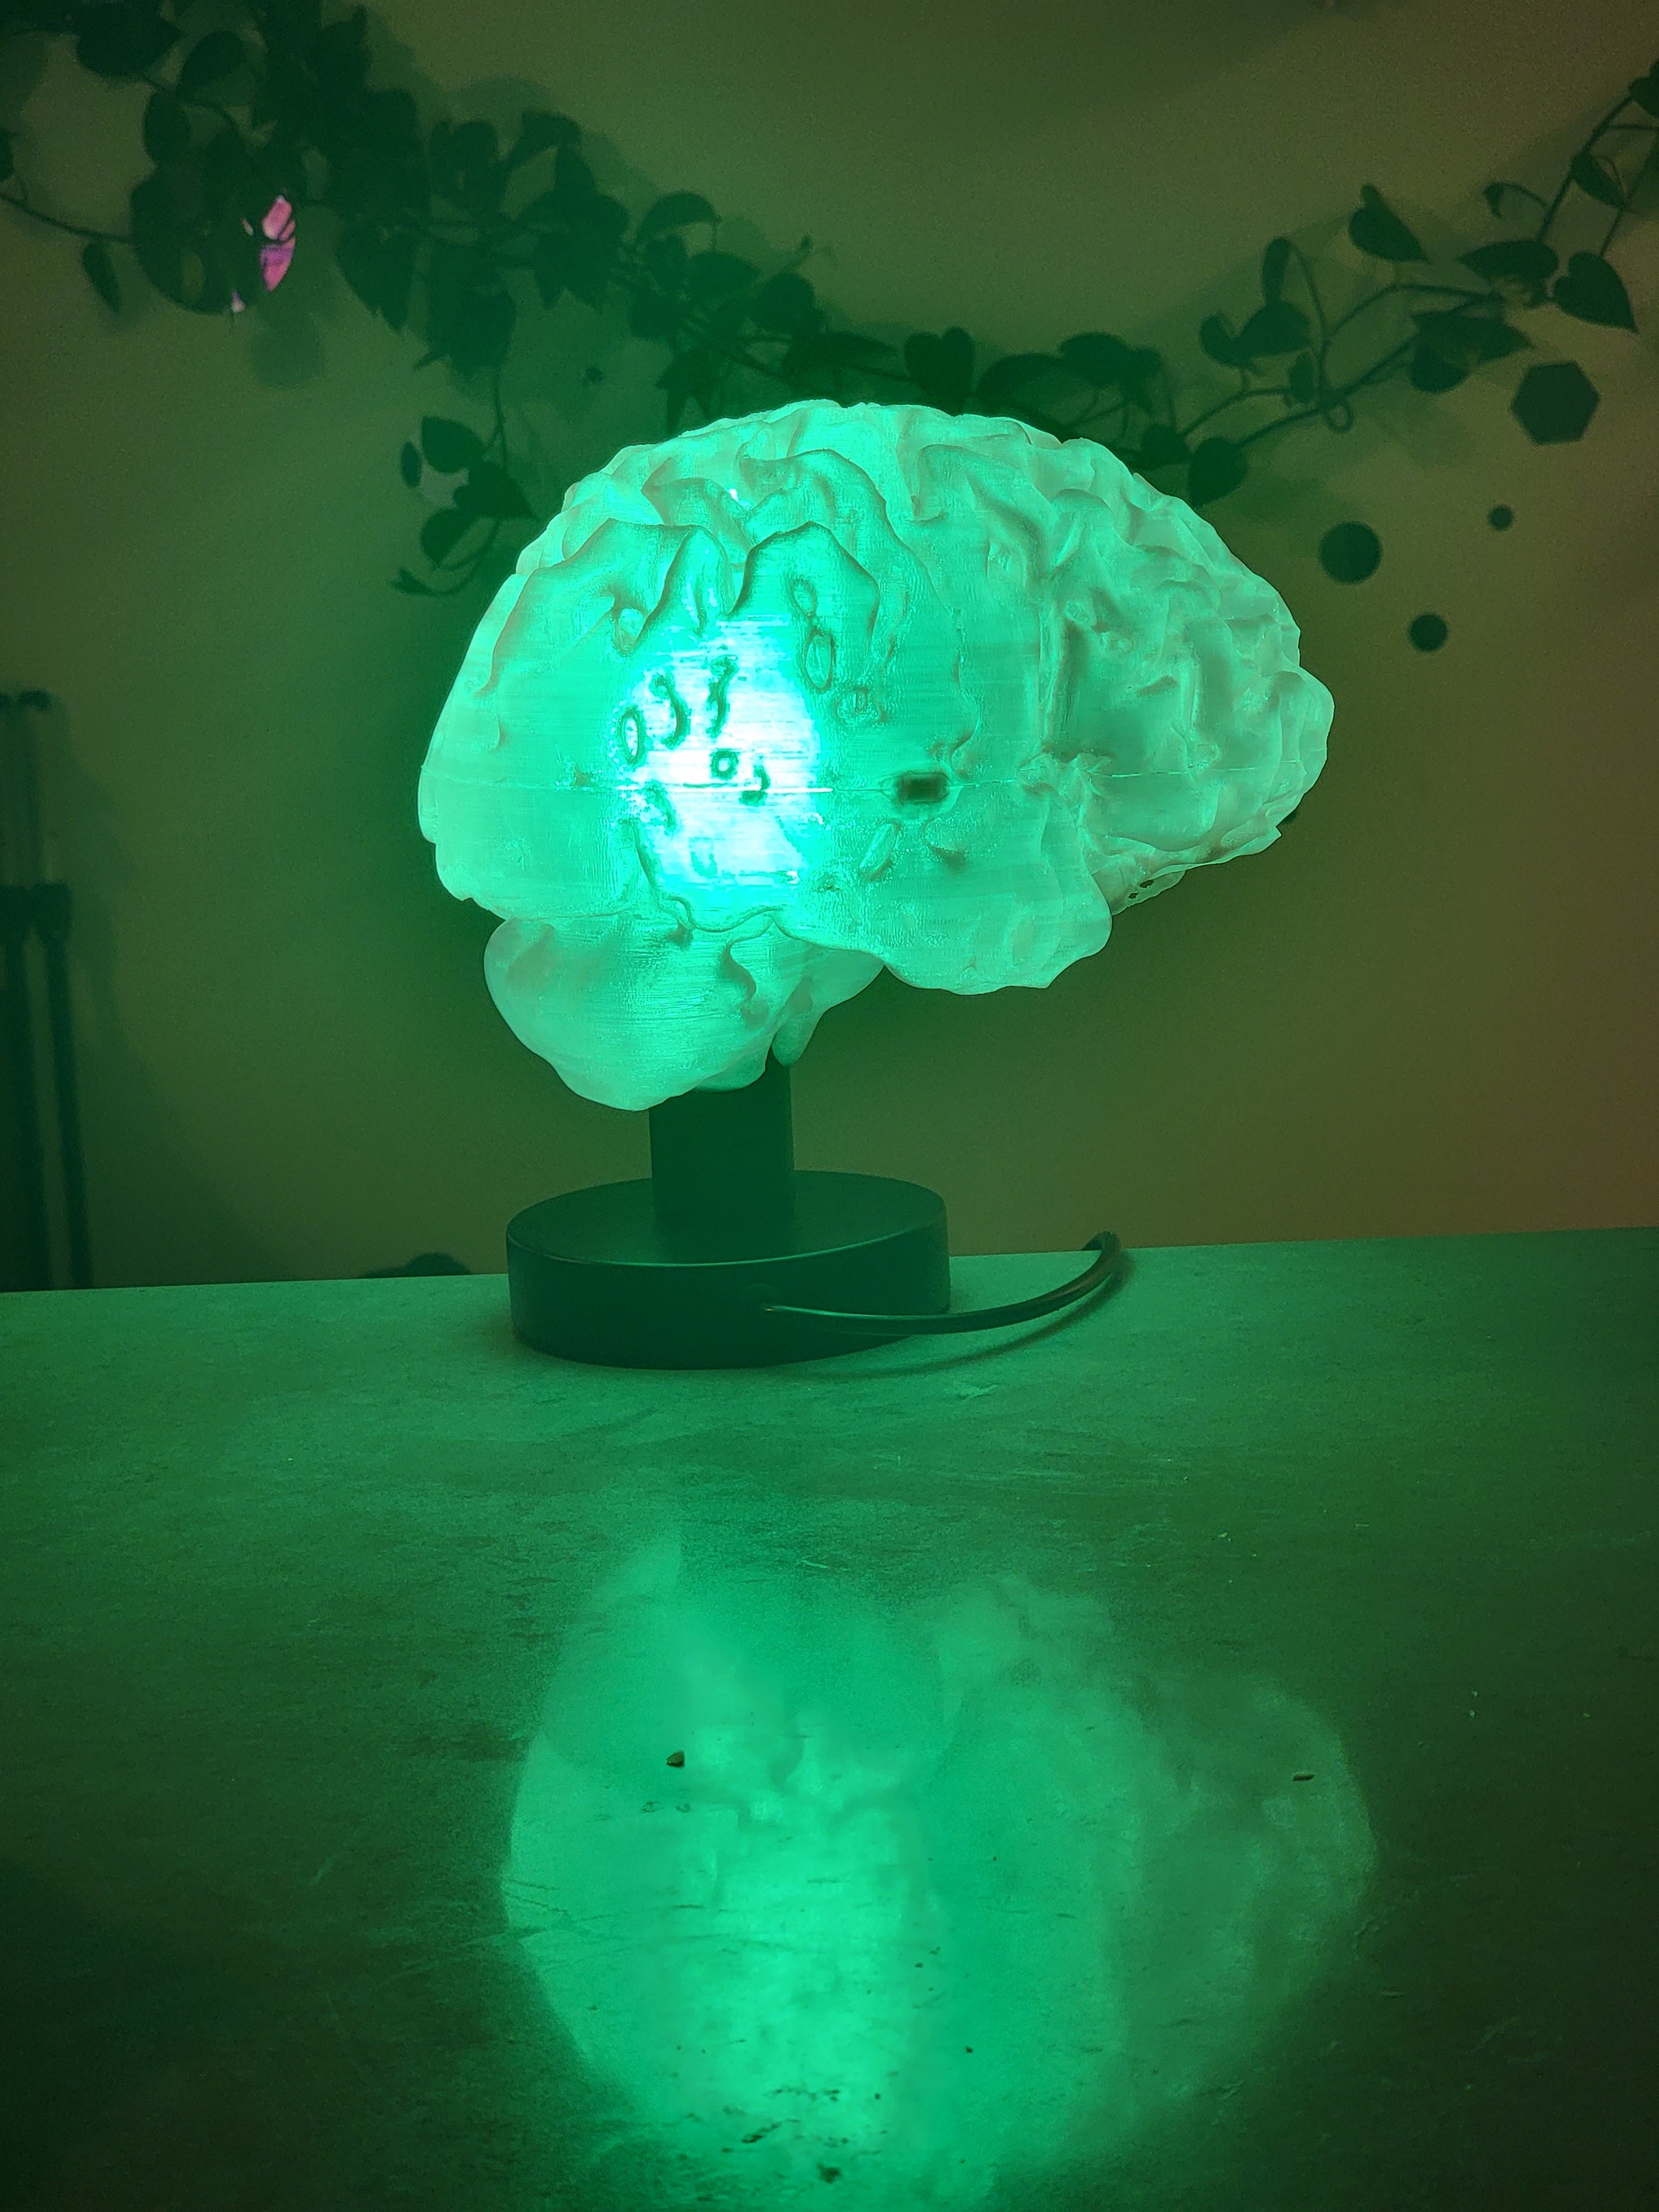
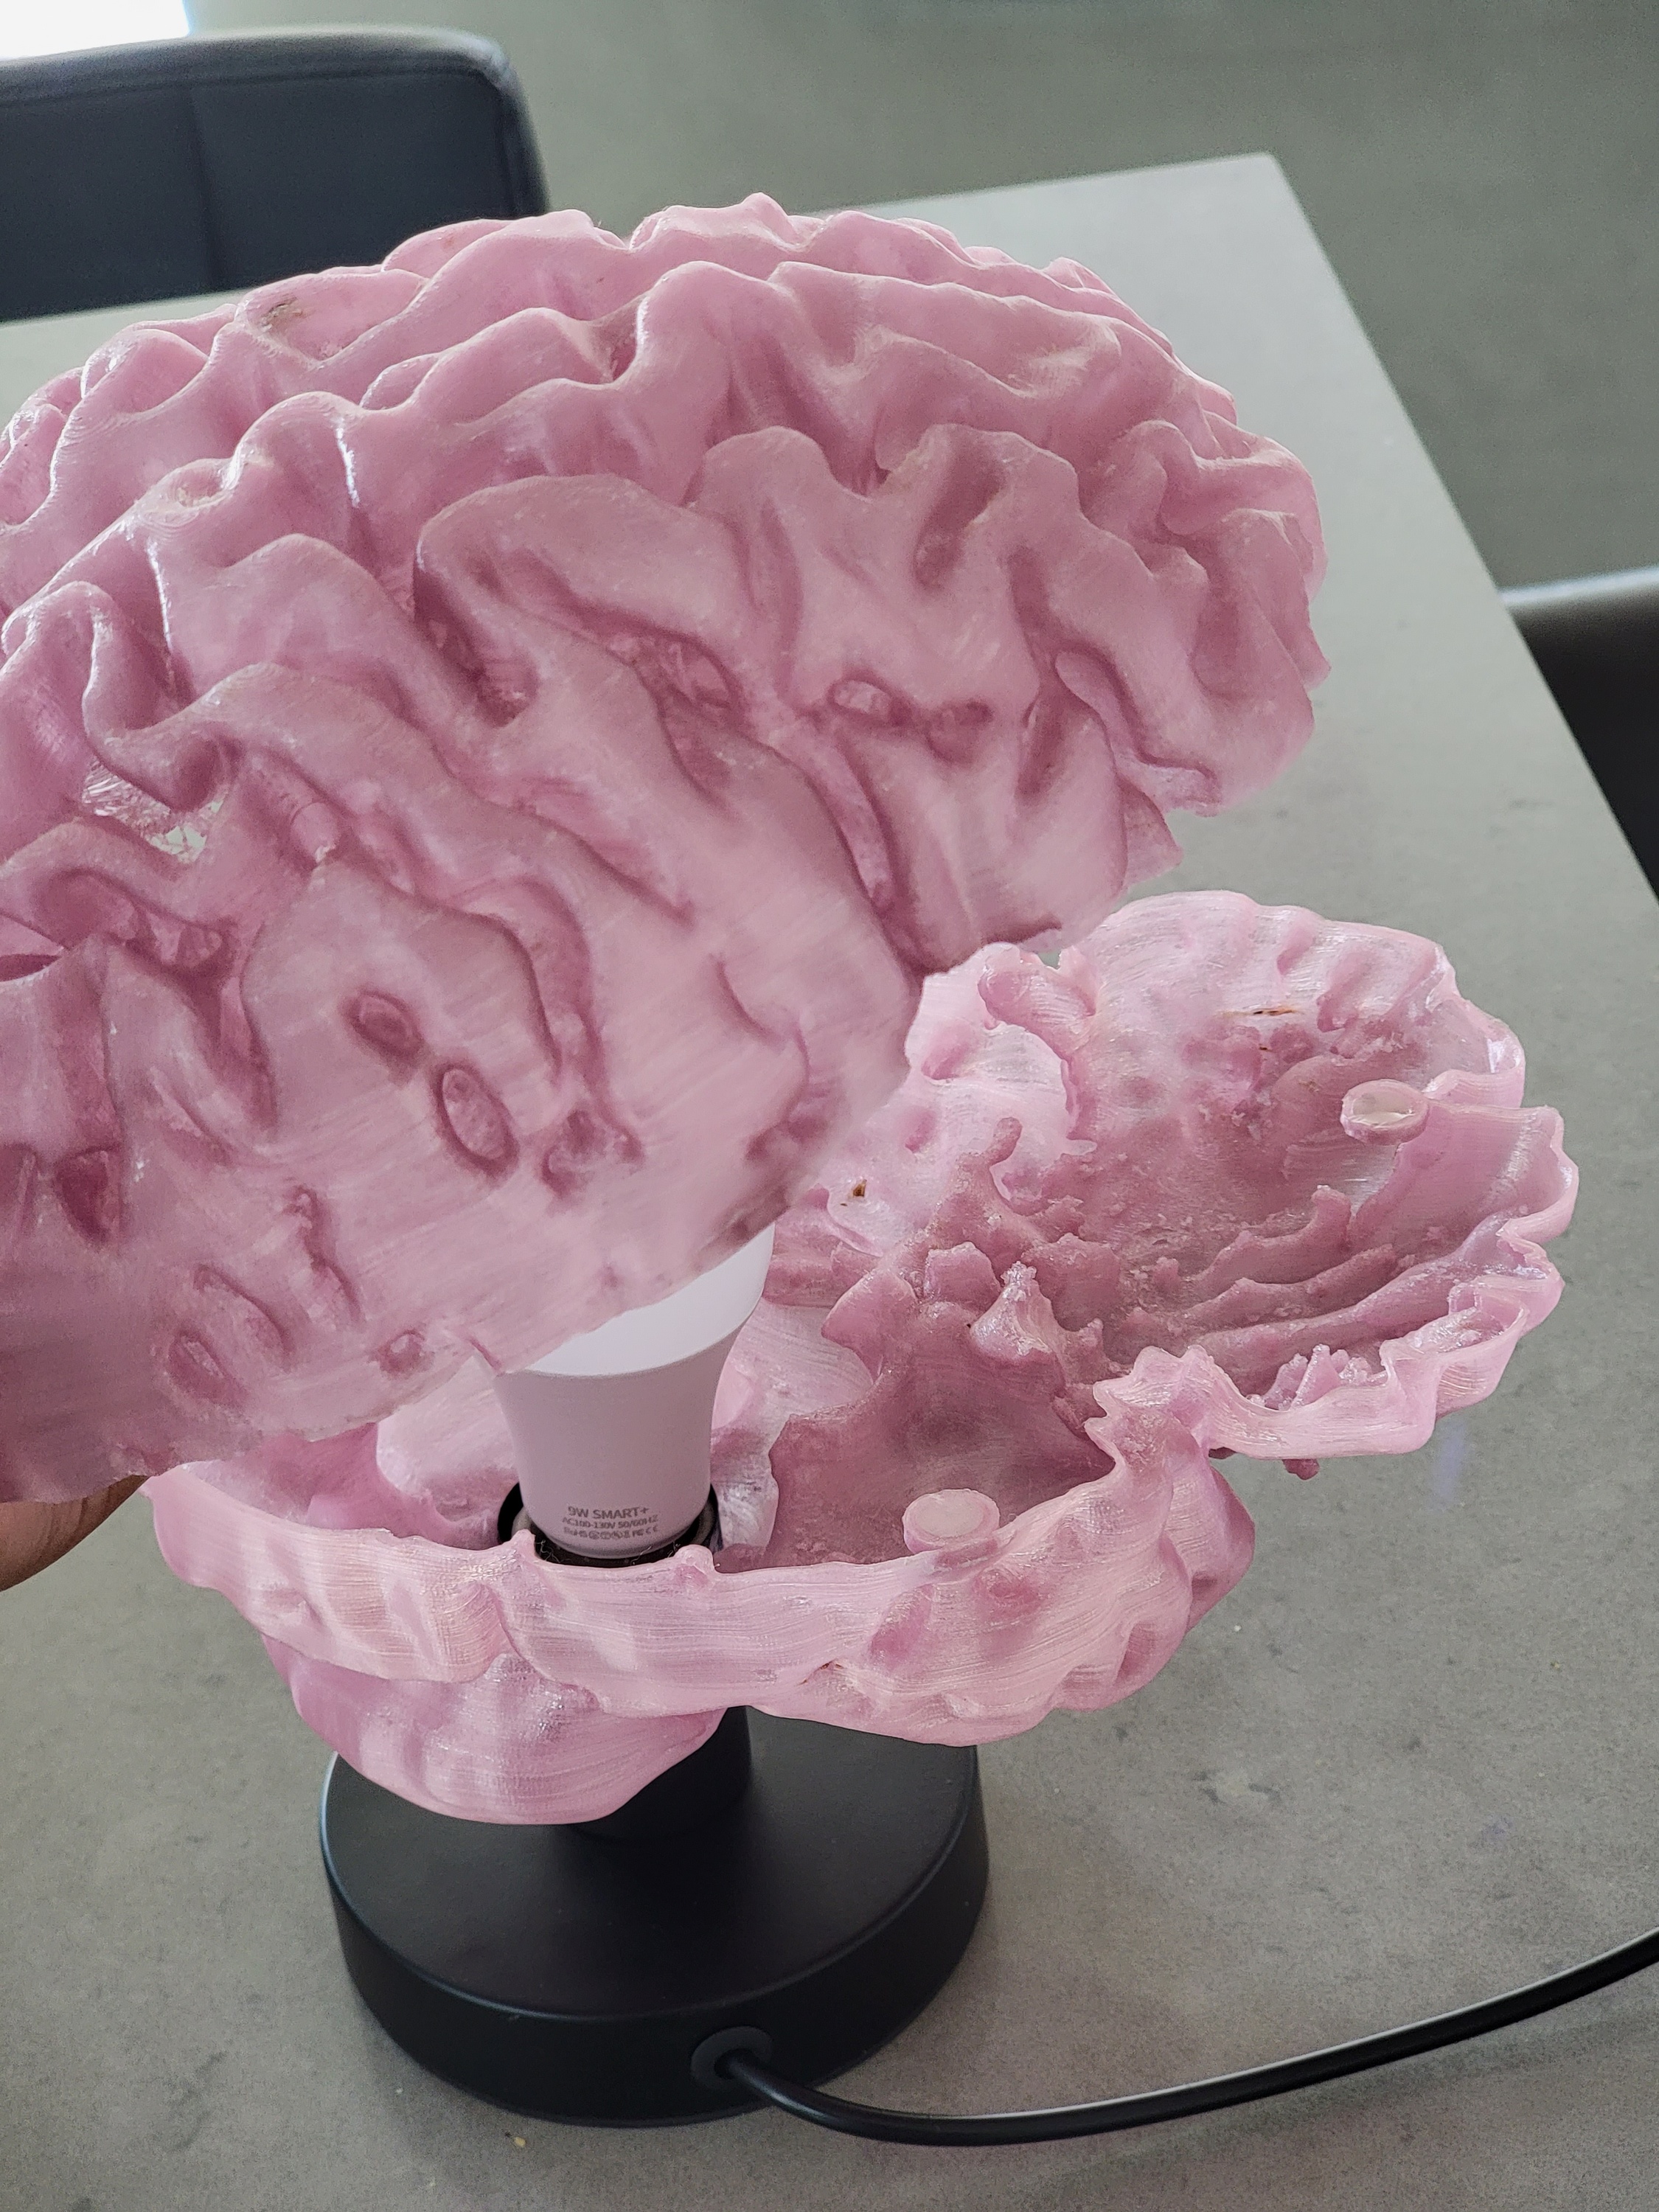

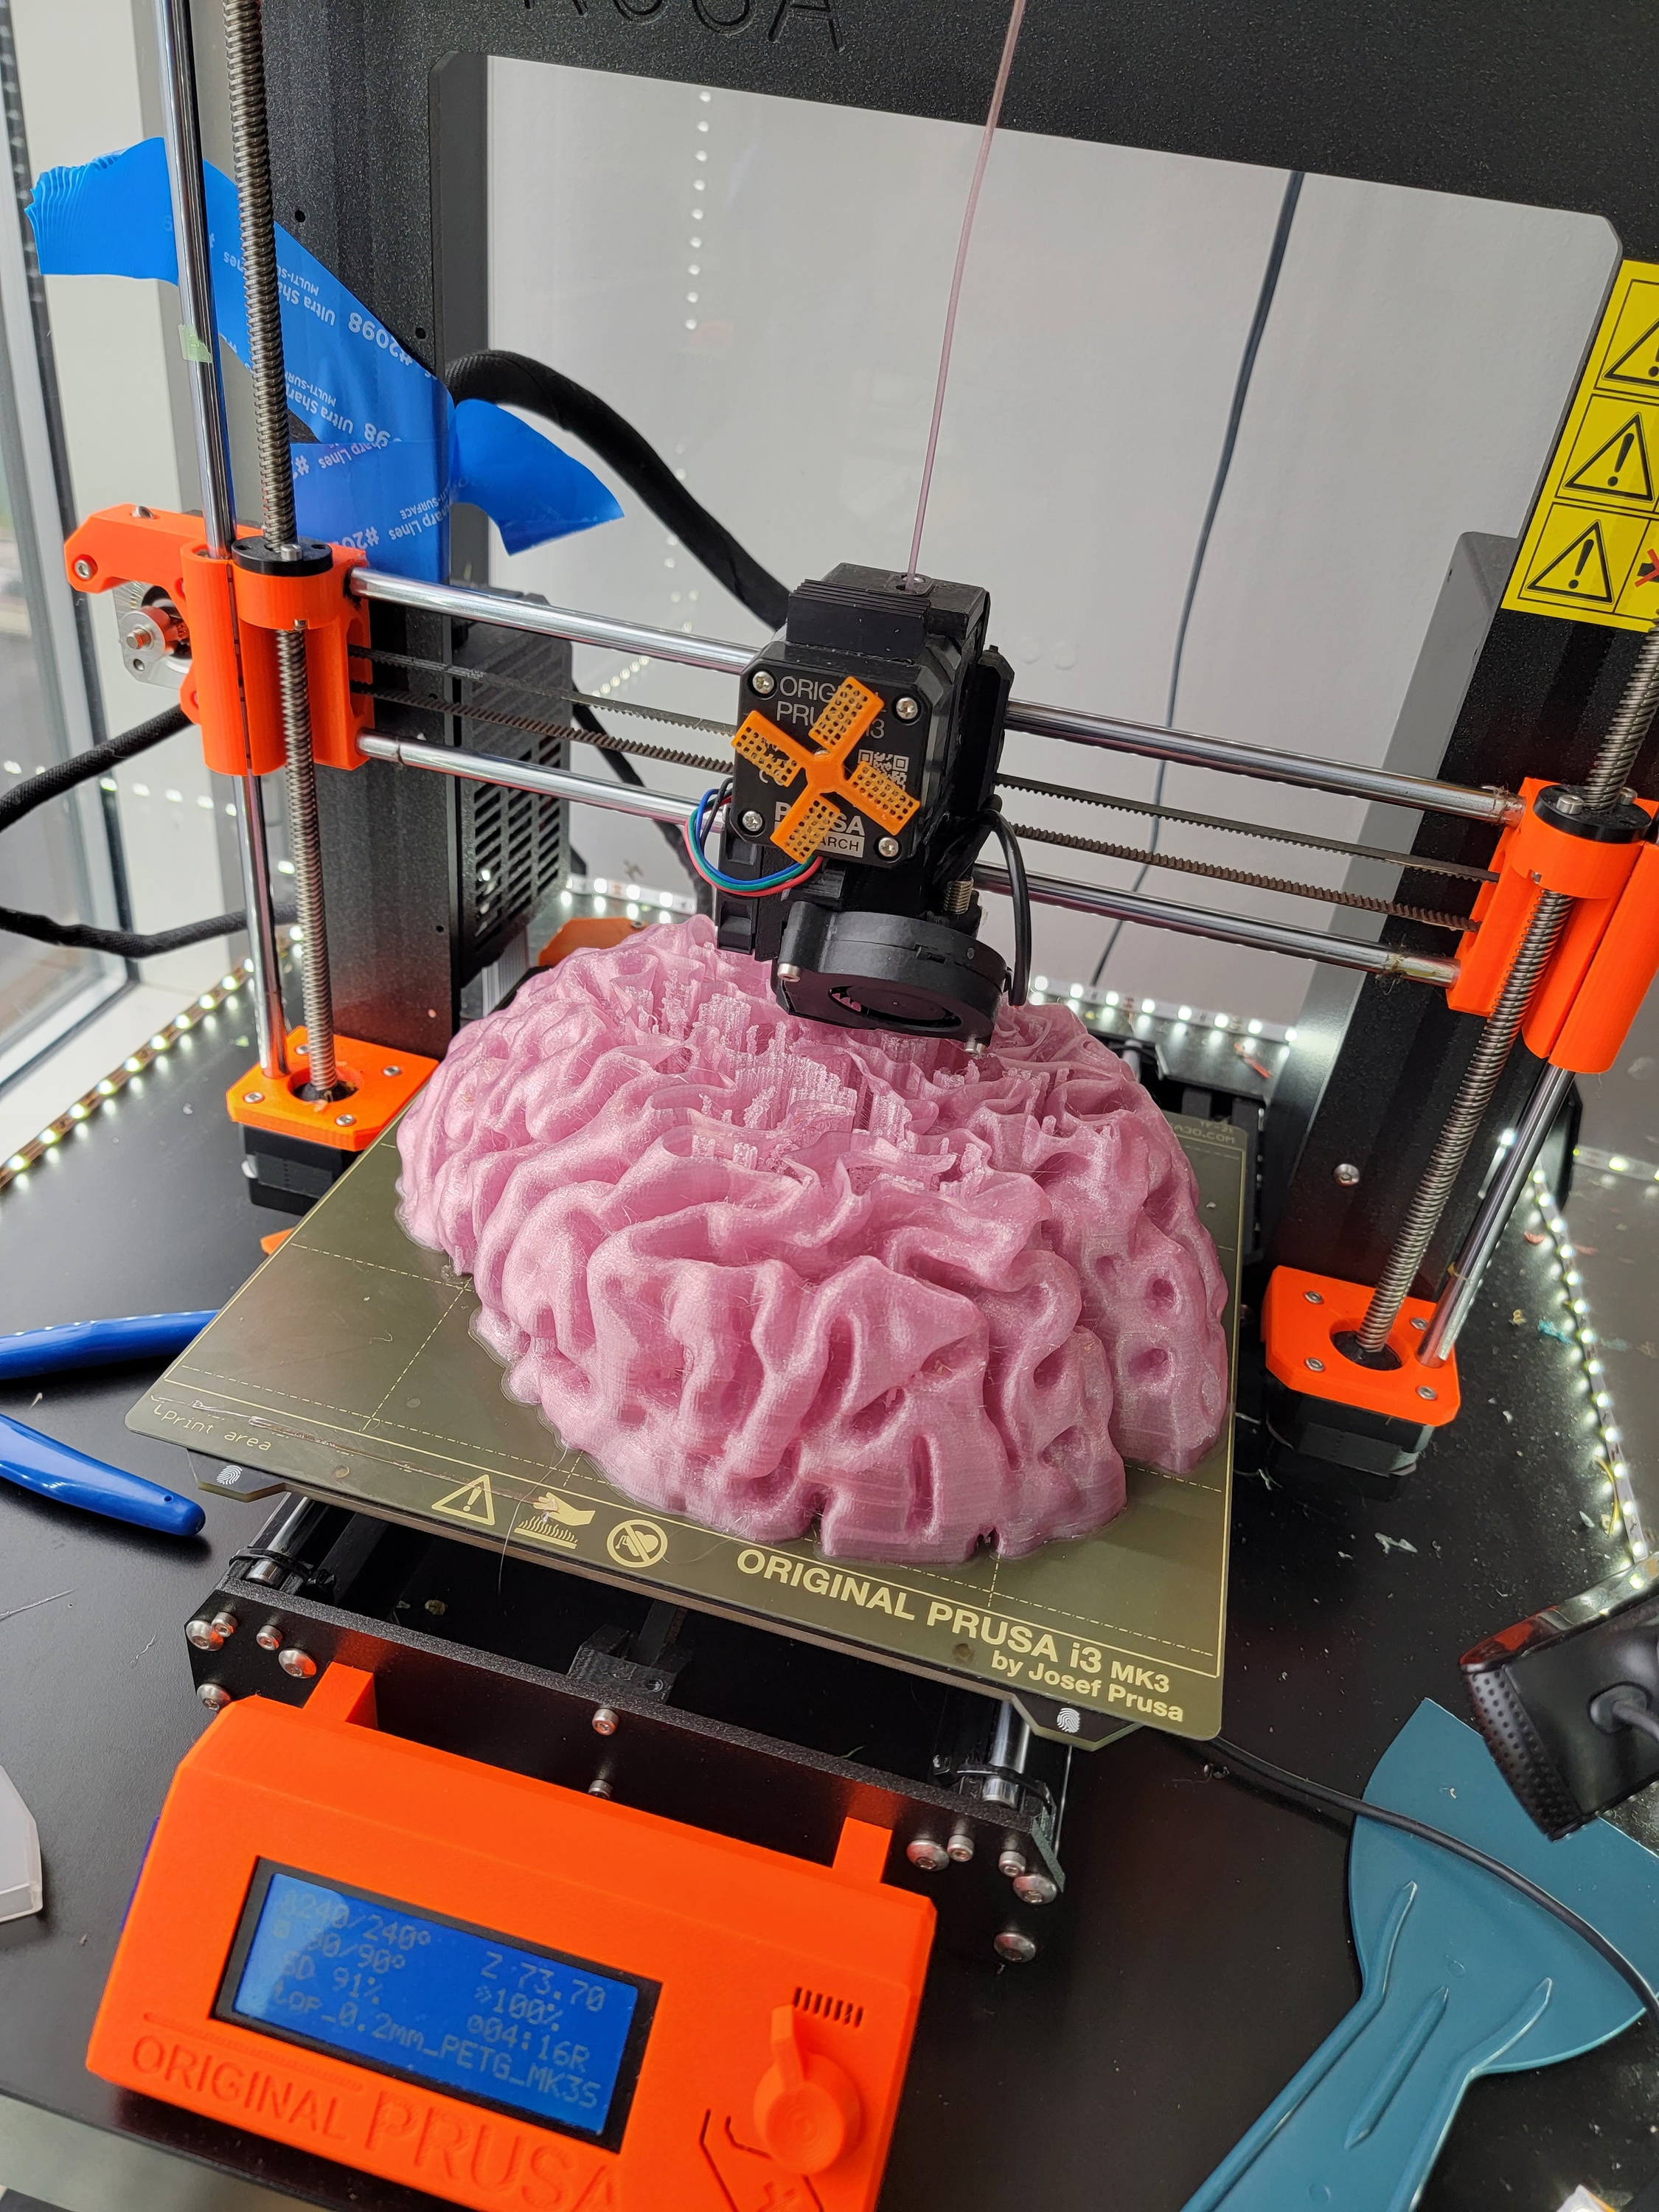
Watch out -- this is a hefty print! Totaling at around 40-60 hrs and more than 500g of filament, it will take a long time; not the least because of all the supports. If you could find a way to shorten the print let me know!
Now, all you have to do is
- Glue the magnets into the each half's magnet bases
- Glue the bottom half of the brain to the lamp base
- Screw in the bulb
- Plug in and enjoy!
I hope you had as good a time I did making this, and the end result is a lamp made of your very own brain!
Materials Used
| Item | Link | Cost |
|---|---|---|
| Smart LED bulb | Amazon | $9 |
| Lamp base | Amazon | $10 |
| 10mm diameter magnets | Amazon | $10 |
| Super glue / gorilla glue | $5 | |
| > 500g of clear/translucent printing plastic | Atomic Filament Rose Gold Translucent PETG | $25 |
| Total Cost | $59 | |

